|
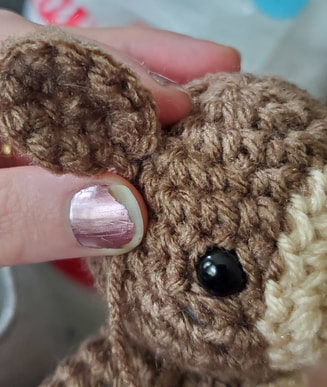
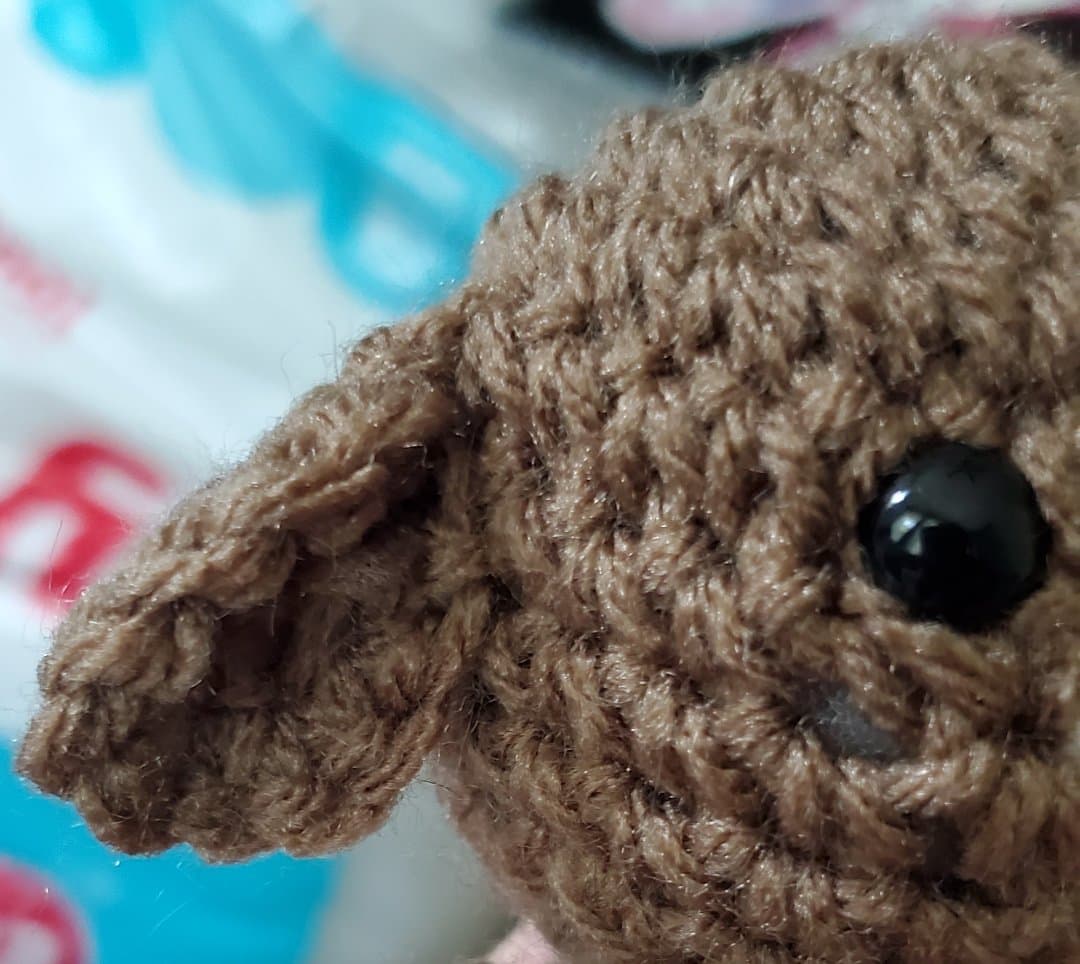
I designed a larger version reindeer many years ago, and came up with these guys as part of a crochet contest hosted on Instagram called #amigurumishowcase . The winners of the contest released their patterns for free, while I did not win - I am sharing my pattern for these guys to help spread some love and cheer for the holidays! :) I would love to see what you make if you do use the pattern - DM or tag me on instagram /twitter @aeishicrochet ! 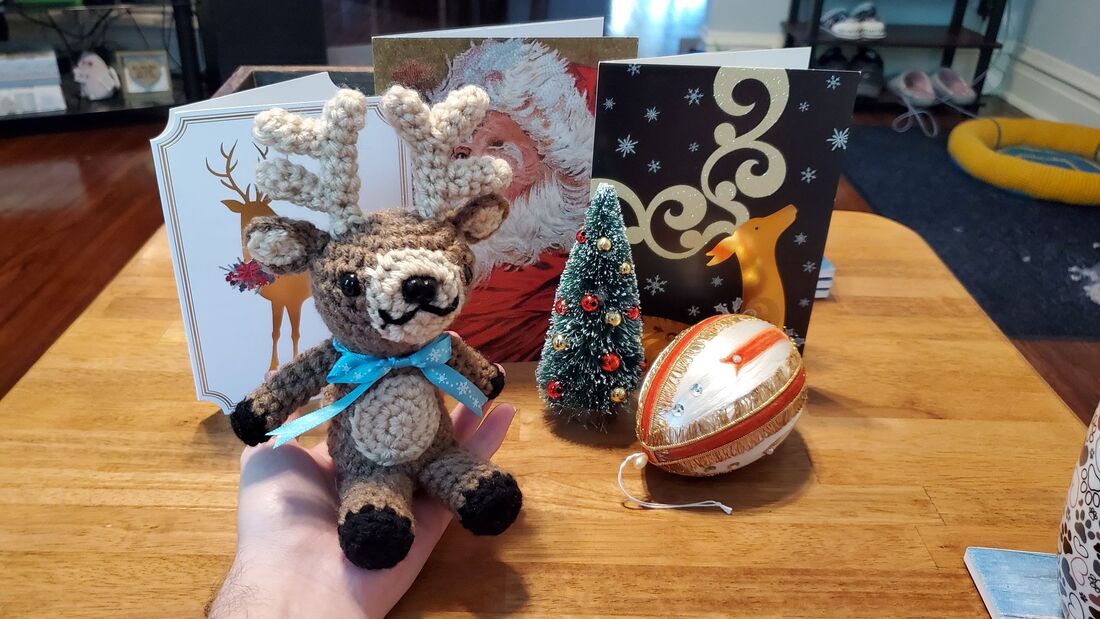 Mini Reindeer Amigurumi By: Aeishi Crochet 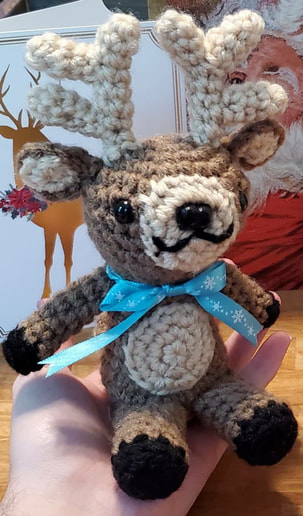 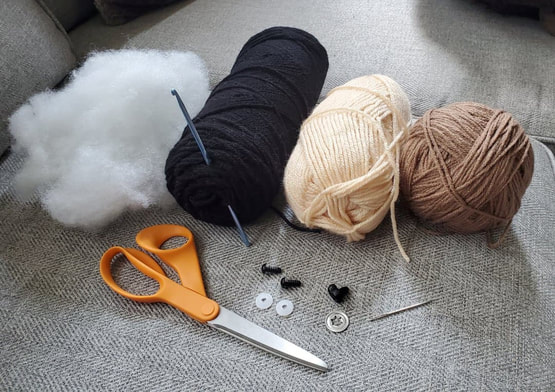 Materials Needed Red Heart (Black) WW Yarn Red Heart (Cafe Latte) WW Yarn Vanna’s Choice (Beige) Yarn F Hook (3.75mm) G Hook (4.25mm) Yarn Needle (For weaving in ends) 9mm Black Safety Eyes 15mm Black Nose Polyfil Stitch marker - if needed Crochet Terminology/Stitches used Magic ring/Magic Circle Single Crochet (Sc) Increase (inc) Decrease (dec) Body (Brown) 6 sc in magic ring (6) Inc around (12) ( 1 sc, 1 inc) around (18) (2 sc, 1 inc) around (24) Sc around in back loops only (24) Sc around (24) Sc around (24) (1 dec, 2 sc) around (18) Sc around - for 5 rows (18) Slip stitch next stitch, fasten off with long tail for attaching head, stuff with polyfil. Head (Brown) (G Hook) 6 sc in magic ring (6) Inc around (12) ( 1 sc, 1 inc) around (18) (2sc, 1 inc) around (24) (3 sc, 1 inc) around (30) Sc around (30) (dec, 3sc) around (24) Sc around (24) Sc around (24) (dec, 2 sc) around (18) (dec, 1 sc) around (12) Slip stitch into next stitch, fasten off with small tail and stuff with polyfil. Legs - Make 2 (Black) 5 sc in magic ring (5) Inc around (10) Sc in back loops only around (10) (Brown) Sc around - for 5 rows (10) Slip stitch next stitch, fasten off with long tail for attaching, stuff with polyfil. Arms - Make 2 (Black) 6 sc in magic ring (6) Sc in back loops only (6) (Brown) Sc around - for 6 rows (6) Fasten off with long tail for attaching, stuff with a little polyfil. >> Note: I use a larger crochet hook or my scissors to help stuff the arms quicker. Ears - Make 2 (Brown) 6 sc in magic ring (6) Inc around (12) Fasten off with a tail for attaching to the head. Face Detail (Beige) 6 sc in magic ring (6) Inc around (12) ( 1 sc, 1 inc) around (18) Slip stitch in next stitch, fasten off with long tail to sew to the face. Belly (Beige) 6 sc in magic ring (6) Inc around (12) Sc 2, inc 2, sc 4, inc 2, sc 4 (16) Slip stitch in next stitch, fasten off. Tail - Make one in Brown, and one in Beige yarn Chain 4 (4) Sc in 2nd chain from hook, and sc to the end (should be 3 sc stitches in this row) Chain 1, turn. (3) Sc across in each stitch (3 sc) Chain 1, turn. (3) Skip the first stitch, sc in the 2 remaining stitches, chain 1 and turn. (2) Skip first stitch, sc in the next stitch, slip stitch in the end stitch, Chain 1 and turn. (2) Skip the slip stitch and slip stitch in the open center stitch, fasten off. >> Both tail pieces should form a triangle shape when completed. Antlers (Beige) 5 sc in magic ring (5) Sc around - 5 rows for large (5) 3 rows for medium 2 rows for small Detailed Assembly Instructions 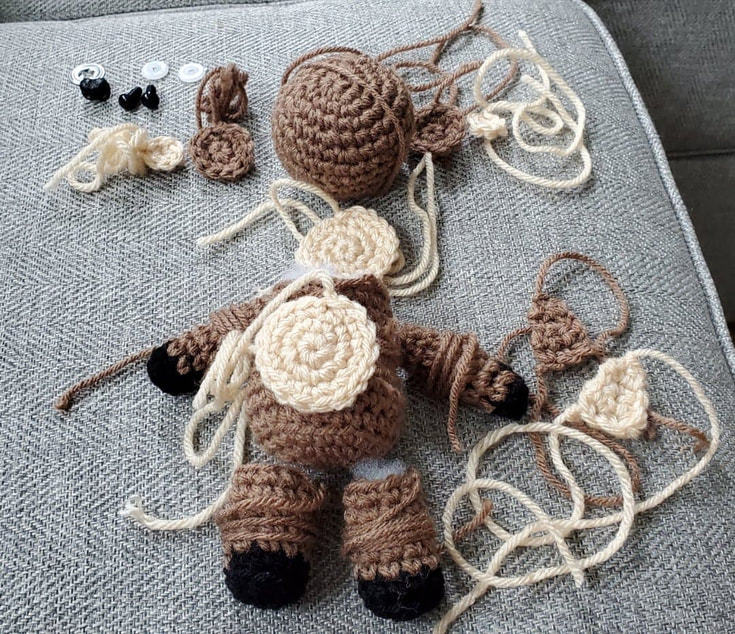 You may assemble as you make the parts, or make everything and then assemble - that is up to preference. There should be 14 crocheted pieces to attach. The following is a visual representation of what I did. 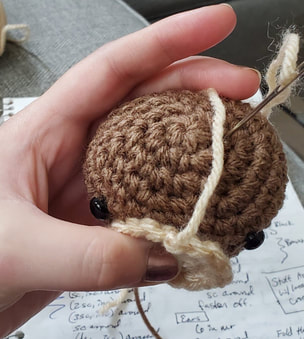 I attach the eyes 5 rows down from the magic ring, with 7 stitches (holes) in between them. The Beige Face piece should fit between them, and sew into place. 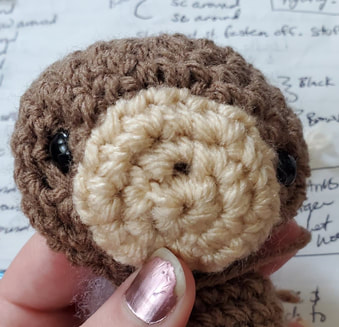 The nose should be inserted in the stitch above the magic ring of the beige face piece. Push it through both layers of yarn and fasten inside the head along with the eyes. 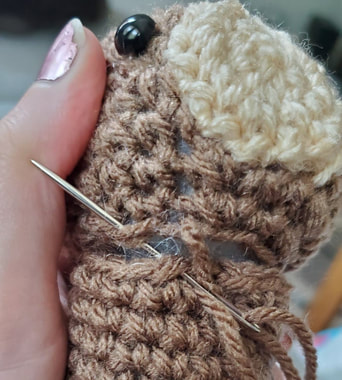 Attach the head to the body, I just sew them together. 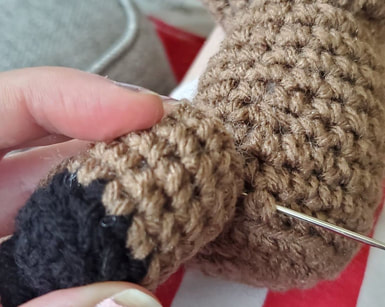 Pinch the tops of the legs, and sew them onto the body. I sew the legs into the row that is above the “back loops only” row of the body. 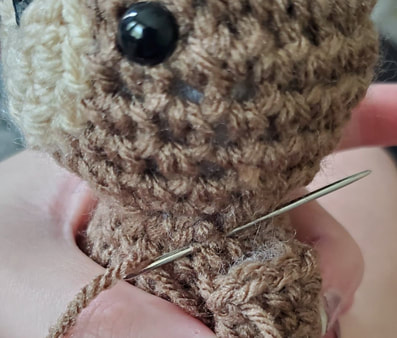 I sew the arms into the body the same way I did the legs. They get positioned into the row below the neck, and to the sides of the body. 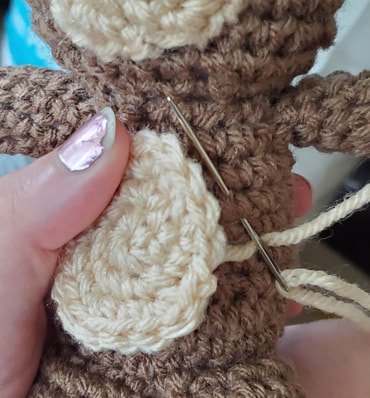 The beige belly piece gets sewn into place. Make sure to have the increased stitches on the top and bottom position wise, this makes it an oval shape.
The ears get attached 3 stitches back from the eye, and one row up. I fold the brown ear piece to shape it and then sew it into the head in the position that I want. It can be positioned up or down as shown above. 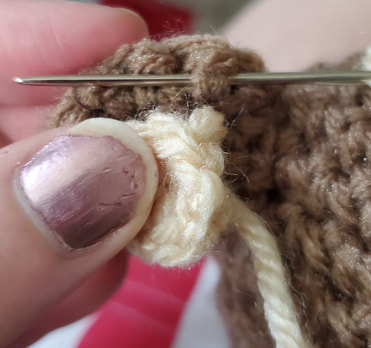 The beige ear details are sewn into the ears, being careful to only sew into the top layer of the brown yarn. The beige should only be on the inner ear, not show up on the outer. I cut off the center strings of both the center of the ears and the ear details prior to attaching for ease. 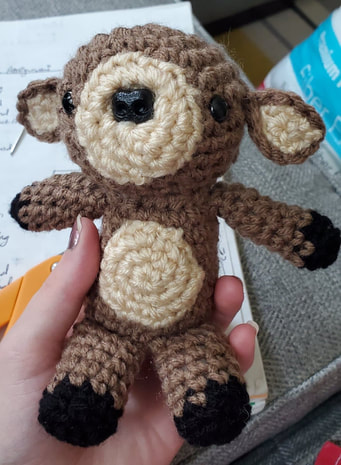 The reindeer should look like this when finished, thus far. Make sure to bend the ear after the beige details have been sewn in, in order to keep their ear-shape. 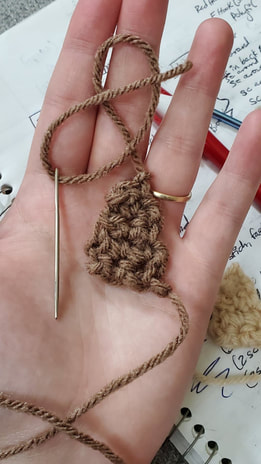 For the tail triangles, the top strand on both pieces should be weaved in. The bottom strand of the beige piece should be used to sew it to the brown piece, weave in those ends as well. 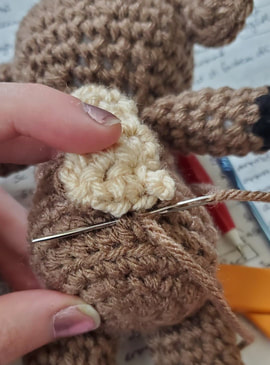 Finally sew the tail to the body ( I sew it and attach it one row above the BLO round of the body). All that is left is to add desired details or embellishments! 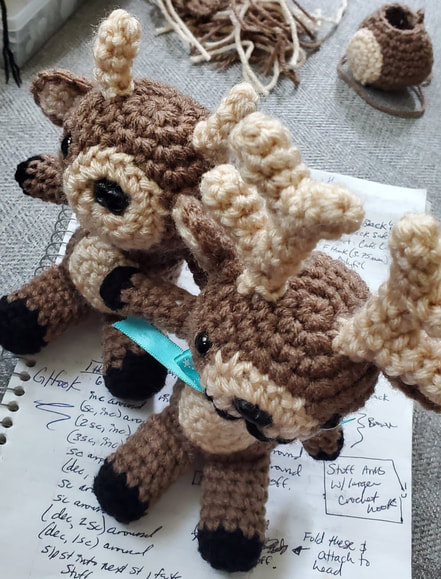 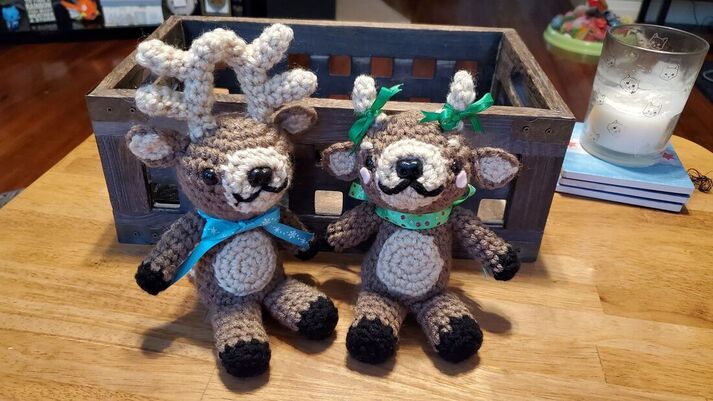 Here are some examples of details that I have added for inspiration :) 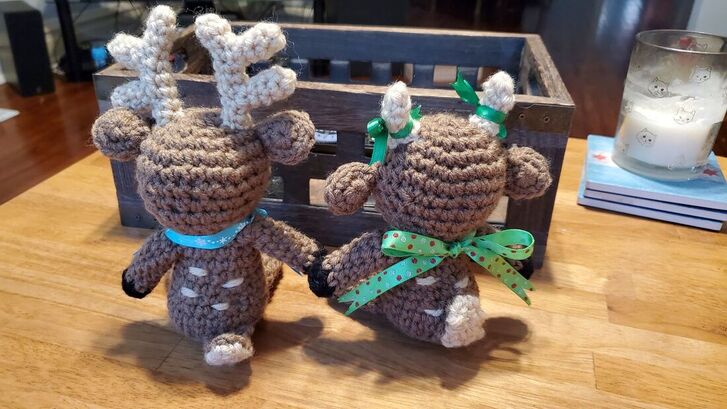
0 Comments
Leave a Reply. |
Aeishi
Behind the scenes of my projects, patterns, and more! Archives
November 2020
Categories |
 RSS Feed
